

How to Synth DIY
![]()
Here at FluxWithIt.com there is a mind set… If you are not thinking beyond intended operation, then you are limiting yourself. To better illustrate this philosophy as it pertains to the studio. I have decided to take you all with me on down the rabbit whole and into a land where an old guitar pedal is a synth, a simple 555 timer chip is a modulation source, a plain plastic box can become a sample manglers wet dream. Luckily with Sponsor Synthrotek I will be able to help you on your journey to Nerd heaven.
Before we take the blue pill and get to tripped out on bending and circuit melding, Lets gather our thoughts.
First we need to assess just what it is we SHOULD know before attempting any of this.
here are some bullet points of what I feel you should know… and I will help assist you in learning.
- How to solder basic through hole components
- how to read a resistor or capacitor value
- understand what the markings on a circuit board mean
- how to use a basic multimeter
- Understand what waveforms look like
- what tools are generally required
- where to get the tools and supplies for SDIY
- how to think outside the box
Now to really help everyone get on the same page, there will be a lot of information to cover. I have decided to make this a long running series as opposed to trying to cram all of this information into one or two posts.
I am going to do my best to keep this series consistent and easy to understand. I welcome your thoughts and if you have an idea on how to do something better, please feel free to comment!
First up lets start with some basic tools
- Soldering iron… some common questions . How many watts should I get and how much should I spend?
Answer: Well a soldering iron can range in price, typically speaking as with any tool, you get what you pay for. sure you can spend upwards of $200 on a fancy soldering station. If you plan on just doing basic SDIY though, this may be overkill. you can use any typical soldering iron between 25-40 watts for this sort of work. more expensive irons usually will have more accurate controls of the heat, and longer tip life with more consistent soldering heat. If you are on the fence about how much SDIY you will be doing. a simple low cost radio shack soldering iron is perfectly fine. Just don’t look for it to be very long lasting. and buy some extra tips. (the tips are what heat the solder and the metal you are working on. typical cost $20 for budget and $125 for a station like the weller WES51 or Hakko 936 (or its newer replacement the FX888) with controllable temp and long lasting quality. ( I myself have chosen to go with the Hakko FX888D which I ordered online for $90)
When picking up a soldering iron, be sure to grab a “third hand“ (helps hold the circuit board as you solder onto it) and a soldering iron cleaner. often you can get these as a simple soldering station for under $7-30
When buying a soldering iron it is important to note the tip type and pick up a few spares. Also grab some solder wire (simple while you are at it, and a desoldering braid / desolder sucker. these are cheap items that can save you a lot of headache when you solder something improperly.
2. Snips 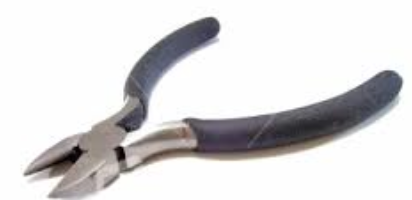 any basic soldering snips will do, these are used for cutting off the excess wire of through hole components $5
3. electrical tape 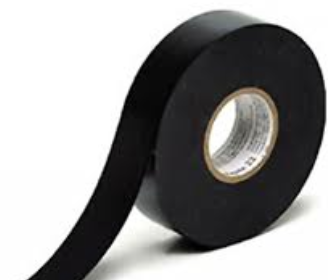 Nuff said really… this is for insulations and binding
4. Hand tools,  small set of screw drivers both flat and philips head. Also a small vice grip comes in handy as well.
5. a Volt meter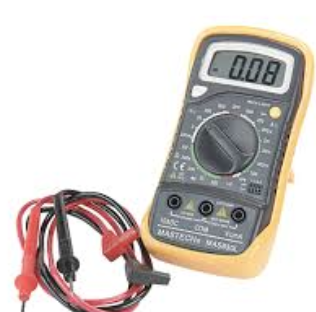 that can measure both AC and DC electricity and ohms (resistance) this doesn’t need to be anything fancy
Most of these products can all be found at your local radio shack.
——————–
——————–
Now Lets talk about Mentality.
Who and what is SDIY for?
Synth DIY is for artists that are curious about the technical working of how audio gear works, Those who are not fearful of experimentation and those who are not content with just working within the confines of mass market tools.
Modifying audio equipment is as old as audio recording itself, so why not join in on the fun and learn while having fun.
Synth DIY is for all skill sets. Even those with no soldering skills can still perform modifications to improve their gear for their own usage case.
The fearless are those who champion. Sometimes to learn, we must first err. Yes you may damage some gear beyond repair. You may “let out the magic smoke” on some items. But to the Adventurous go the spoils. Breaking gear can be a part of the learning process. so start with inexpensive gear before jumping to more expensive builds and modifications. Walk before you run.
————-
————-
Some basic laymen jargon that you may need to know for synthesizer DIY would be
Pad : this is a point on a circuit board that is metal that you solder components to.
Through hole :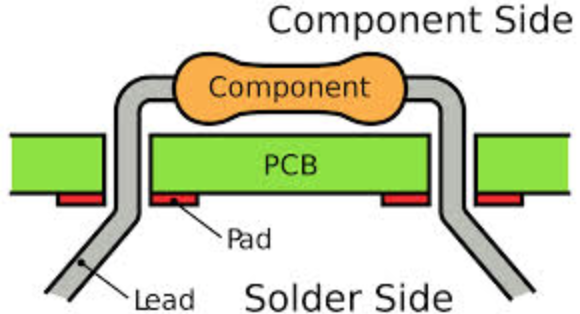 This is a sort of component and circuit board that is generally easy to solder, you simply push the metal ends of each component through the circuit board and solder to a pad on the other side.
strip:  when soldering wire often times you need to first strip the wire, this means to remove the insulation around the wire to create a clean metal area to solder and connect at.
Polarity:![]() Polarity is the direction in which electrons flow through a circuit (positive to negative). This can be important as some components must be placed in the right polarity direction.
Polarity is the direction in which electrons flow through a circuit (positive to negative). This can be important as some components must be placed in the right polarity direction.
Board: 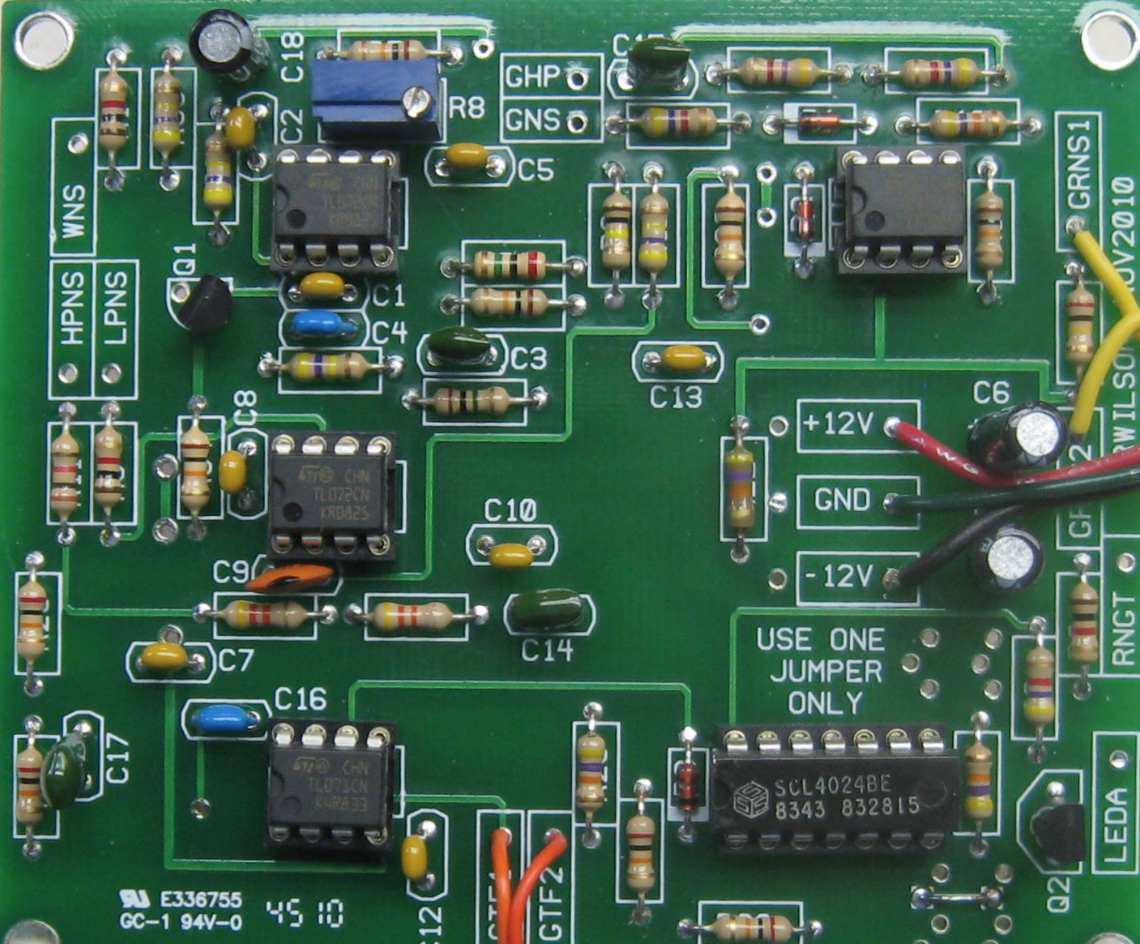 This is what the components are placed upon that you will be soldering to.
Solder: 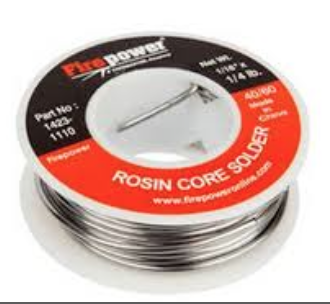 a simple coil of metal wire designed to Flow (melt) at a lower temp than the component wire that allows for an electrical as well as structural bond between components and board.
IC:  Integrated circuit… better known as a chip, these chips can range from simple timers to complex voices and operations. generally you will first solder on a IC holder then place the IC inside of the holder.
Resistor:  This is a component that increases resistance in the circuit. these usually have a number of stripes on them to tell you what resistance value the component is (generally not polarity sensitive).
Capacitor: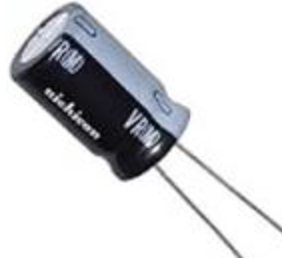 A capacitor stores and releases electricity. this rating is usually a three digit code, there are numerous types of capacitors some are polarity sensitive (electrolytic ) some are not (ceramic).
Op amp :  Operational amplifier, this boosts signal level or normalizes a signal level.
voltage regulator: ![]() This prevents voltage from raising above a desired level.
This prevents voltage from raising above a desired level.
Diode:![]() Think of this as a check valve for electrons. prevents electrons from flowing in the wrong direction. often used as protection.
Think of this as a check valve for electrons. prevents electrons from flowing in the wrong direction. often used as protection.
Jack:![]() This is usually an input or output interface.
This is usually an input or output interface.
Attenuator: 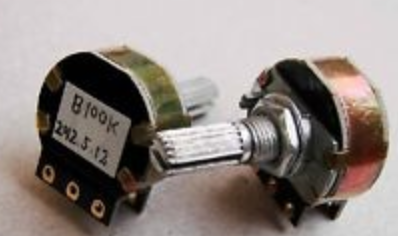 This is circuit or knob that reduces amplitude without changing signal shape. (think volume knob) used to manually control the level of a signal also depth amount etc.
Attenuverter:  This is an attenuator that can invert a signal.
CV: Control Voltage. used to control aspects of a circuit by a voltage outgoing or in going. usually DC voltage and the euro standard is 1 volt per octave. meaning you increate 1 volt as you go up an octave.
———————– We will continue more in the next article! There is SO much more to cover!!!
![]()